
If you live in Ottawa and you don’t want to give Rogers or Bell your hard earned cash then you can do what I have done and it only cost me 20 bucks and I get all the HD channels I need.
Things you need:
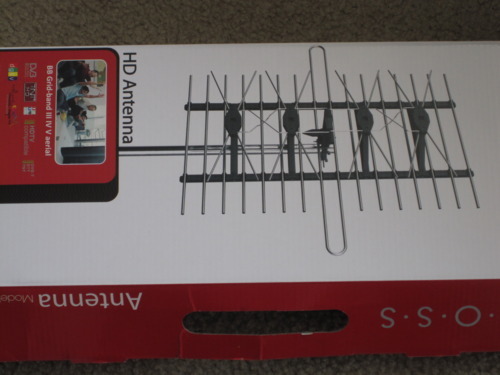
- Digital HD antenna
- +25 feet of coaxial cable(May need longer if you live in a house)
- A television with a digital tuner(Almost all new tv’s have these built-in to them)
The antenna can be purchased from many retailers but the cheapest ones can be bought from Walmart, XS-Cargo and Factory Direct.
My antenna came from Factory Direct and cost me a total of $14.99! Some assembly was required to but nothing super technical.
From my own experience the price of the antenna doesn’t equate to the quality/reception of the antenna. I use to use this one but it was TERRIBLE, good thing I never payed 70 bucks for it. 🙂
1. The Unboxing
2.Some assembly required

3. Almost there
When you have your antenna assembled, attach your coaxial TV cable to the antenna and put the antenna in your house/apartment window. Hook the other end of the cable to your television, your television still neets to be setup to use OTA which is burried in your TV’s menu system … I dont have steps for this part. 😀
Once your television is finished scanning for channels, sit down in your favorite chair and enjoy all the free HD television you would ever need.
A TV antenna works best if there is nothing blocking your line of sight to the antennas. So if you mount the antenna high you can get all these channels:
- CBC (English) 4.1
- Global 6.1
- CBC (French)9.1
- CHCH 11.1
- CTV 13.1
- Omni114.1
- TVO 24.1
- TQ – Tele Quebec30.1
- TQS (V) – CFGS34.1
- TVA – CHOT40.1
- CTS 42.1
- “A” Channel 43.1
- Omni2 60.1
- CityTV65.1
To learn more about Ottawa OTA go here.
The ones in bold are the key ones for me, if I want to watch other channels like Space or Discovery I connect my laptop to the televison with an HDMI cable. If you go online you can watch these stations:
- Discovery
- Comedy Network
- Space
- Home & Garden
- National Geographic
- Biography
- Global
- CBC
- CTV
- Documentary Storm
- More links too come …
The not so free sports packages:


